
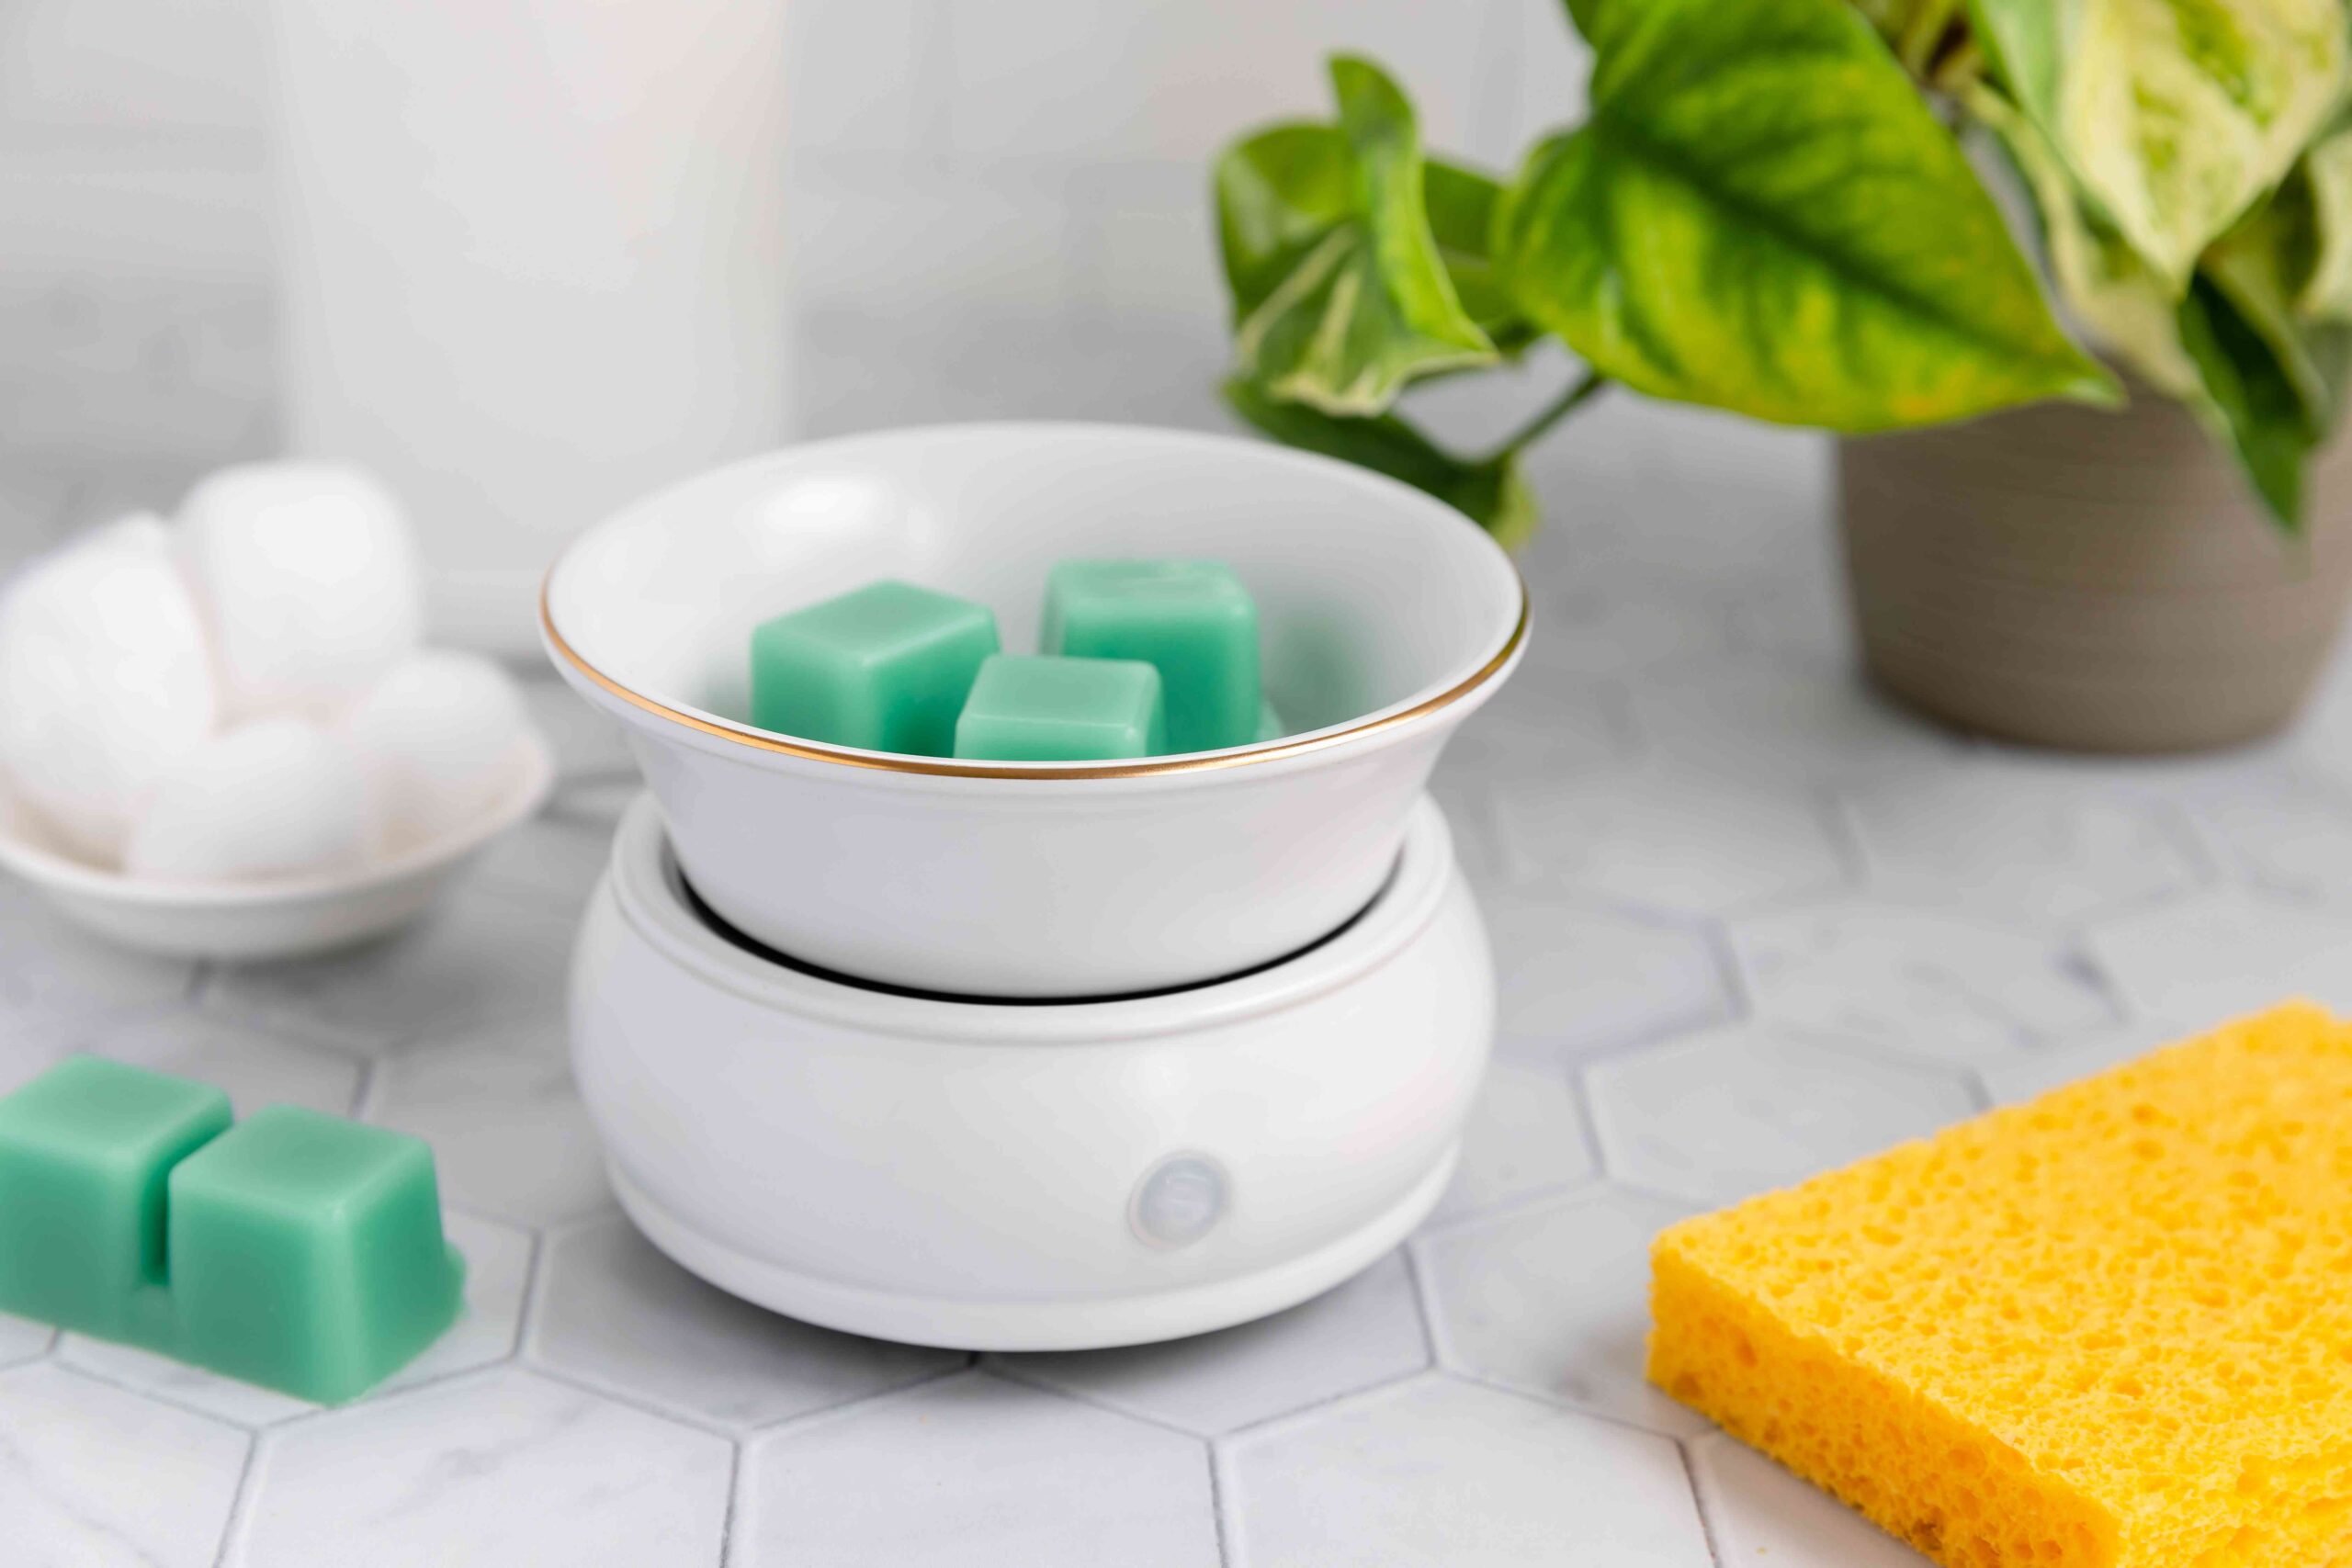
Wax warmers are great devices! They are primarily used to melt fragrant candles or burn scented oils. But they are great because the device is super multipurpose. You can also plop your hair waxing product in the pot to get the perfect temperature and consistency of a skin-friendly wax concoction.
Whether or not you use your wax warmer regularly, it is important to keep the device spic and span for future usage. It is especially crucial to clean them if you want to preserve their functioning and keep them sterile for cosmetic purposes. Also, preparing the wax that eventually goes on your skin needs a clean wax warmer to prevent rashes or infections.
This article will cover the best ways to clean a wax warmer.
There are a ton of brands manufacturing many different varieties of wax warmers. So, make sure to invest in a great-quality wax warmer that will endure for years. Something like this all-in-one hard waxing kit is ideal as it is extremely convenient to use, has all the safety essentials, and, most importantly, is super easy to clean.
Here are some simple steps to clean your wax warmer the right way. It is advisable to turn off the device and unplug it before you put your hands into the pot.
Scrape off or wipe off any wax remaining in the hot container or wax warmer pot. It is ideal to remove the excess wax while it is still slightly hot. So, turn on the wax warmer for some time to loosen the leftover wax so you can easily take it off.
We want an almost clear pot for the next step, so make sure to use products such as Goo Gone or Gigi Sure Clean. However, if there is a huge quantity of wax left in the pot from your previous treatment, transfer it to a sterile pot so you can use it the next time you need it.
Now, this is a commonly asked question. What should you clean the wax warmer pot with? The most hygienic way is to use your unused, sterile waxing strips. You can also use a lint-free, washed cotton absorbent towel tied to a sterile silicone spatula or a stick to do the heavy-duty scraping. Here is a word of caution – Do not ever use acetone, even though it cleans very well. It does the job but may end up damaging your wax warmer pot/bowl. So, avoid using acetone for cleaning.
It is time to eliminate any remaining bacteria, dead or alive. At this point, we would first suggest a quick, warm, soapy water wash. Once you take off all the soap residue, you can either use isopropyl alcohol/rubbing alcohol or simply rinse by boiling some plain water in the pot. Make sure you bring the water to a rolling boil. This step should help you get rid of most of the residue and germs and keep infections at bay.
Some people also recommend using ice cubes in the warmer to harden stubborn bits of leftover wax. Once you remove them, wipe the pot with a clean, damp microfibre cloth. You can also flip and lightly heat your wax warmer upside down in your microwave on a baking sheet in a tray lined with foil and tissues. The melted wax gets deposited on the tray, and you can wipe off the rest with your favourite product.
If you think the pot still has a residue scent, seasoning the wax warmer pot with good-quality essential oils or post-wax oils is your next go-to step. Additionally, we would always advise you to follow the detailed instructions in the user manual that even mention the don’ts while cleaning the warmer. In any case, refrain from using harsh cleansers that can damage the pot material.
And that is how you get a sparkling wax warmer pot that you can use for many, many years. The above steps will work like a charm. So, do try them out the next time you take your wax warmer out for a little bath! It is therapeutic 🙂
We know the process is a bit extensive, and not many people will be excited to clean their wax warmer. It may seem like a boring chore. However, to prevent the contamination of your unused wax, you must be aware of the above steps.
It is messy but absolutely worth it; as you know, your hair removal procedure will be safe and sanitary this way. Now, how often should you do the extensive cleaning of wax warmers? It depends on how frequently you use it. Ideally, you should give it a low-duty TLC after every use. Just wipe it off with paper towels, and you are good to go. The longer cleaning procedure or a full-on glow-up should be done weekly.
See, it was not that tough, was it? Wax warmers are worth the investment if you put in some effort to keep them spotless. It will extend their longevity and even help you get the most out of them for years to come. Happy cleaning!